
Drywall Repair Halton Hills
Top-Quality Drywall Repair Service Company in Halton Hills, ON
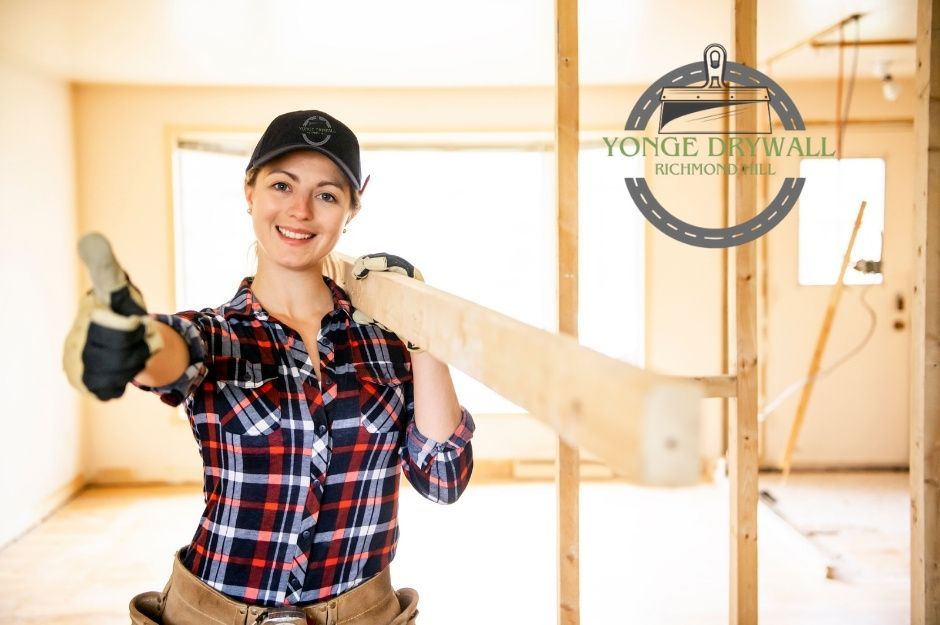
Drywall problems in your Halton Hills home can range from minor cosmetic issues to significant structural concerns that require immediate attention.Professional drywall contractors at Yonge Drywall Richmond Hill in Halton Hills offer comprehensive solutions including crack repair, hole patching, water damage restoration, soundproof installation, and expert finishing techniques like texturing and mudding.
Located in the Regional Municipality of Halton with a population of 62,951 (2021), Halton Hills encompasses the primary communities of Georgetown and Acton, along with numerous hamlets including Glen Williams, Norval, Limehouse, and Terra Cotta. Whether you're dealing with unsightly ceiling cracks, outdated popcorn textures, or holes from everyday wear and tear, professional drywall repair services can restore your walls and ceilings to pristine condition.
These specialists understand the unique challenges that Ontario homes face, from seasonal temperature changes that cause settling cracks to moisture issues that can compromise drywall integrity. The town's humid continental climate (Köppen classification Dfb) with temperature extremes ranging from -33°C to 37°C creates significant expansion and contraction in building materials, making proper drywall installation and maintenance especially critical.
Your choice of drywall service provider directly impacts both the quality of repairs and the longevity of results. Understanding the various repair techniques, installation options, and finishing methods available will help you make informed decisions about maintaining and improving your home's interior surfaces.

Yonge Drywall Richmond Hill (HP)
Drywall Repair Services in Halton Hills
Professional drywall repair services in Halton Hills address common issues like ceiling cracks from foundation settling, outdated popcorn textures, damaged ceiling panels, and holes from accidents or moisture damage. Given that Halton Hills is bisected by the Niagara Escarpment and sits on Ordovician shales and Silurian dolomites, homes in the area experience unique settling patterns that can affect drywall integrity. These repairs restore your walls and ceilings to their original condition.
Ceiling Crack Restoration
Ceiling cracks develop from natural house settling, temperature fluctuations, and structural movement over time. You'll notice hairline cracks along seams or larger cracks that indicate more serious foundation issues. In Halton Hills, the town's location in a low seismic potential area (with the largest recent earthquake measuring magnitude 3 in 1955) means most cracks result from thermal expansion rather than seismic activity.
Professional repair begins with crack assessment to determine the underlying cause. Small cracks receive mesh tape and joint compound application. Larger cracks may require structural evaluation before repair work begins. Properties located above the Niagara Escarpment in Zone 5a may experience different settling patterns than homes in Zone 5b south of the Escarpment, requiring contractors to assess climate zone-specific factors.
The repair process involves:
- Cleaning out loose debris from the crack
- Applying mesh tape or paper tape
- Spreading joint compound in thin layers
- Sanding smooth once dry
- Priming and painting to match existing finish
Recurring cracks often indicate ongoing structural movement. Your contractor will recommend monitoring these areas and addressing foundation issues if necessary. Homes built on the thin drift cover areas south of Georgetown or near aggregate extraction sites may require more frequent monitoring due to ground subsidence concerns.
Popcorn Ceiling Removal
Popcorn ceiling removal updates your home's appearance and eliminates dated textured surfaces. This process requires careful handling, especially in homes built before 1980 due to potential asbestos content. Many historic properties in Georgetown and Acton, where settlement began in the 1820s, may contain older building materials requiring specialized testing and removal procedures.
Professional removal starts with asbestos testing if your home was built before 1980. Once cleared, contractors cover furniture and floors with protective plastic sheeting.
The removal process includes:
- Misting the ceiling with water to soften texture
- Scraping off popcorn material with specialized tools
- Repairing any underlying drywall damage
- Applying smooth finish or new texture
- Priming and painting the entire ceiling
Dust control remains critical throughout removal. Professional contractors use proper ventilation and containment methods to protect your living space.
Replacing Ceiling Panels
Ceiling panel replacement becomes necessary when water damage, sagging, or structural issues compromise drywall integrity. You'll need replacement when patches or repairs won't restore the panel's stability.
Water-damaged panels often show brown stains, soft spots, or visible mold growth. Sagging panels indicate the drywall has lost its structural integrity and poses safety risks. Halton Hills receives an average annual precipitation of 877.4mm (34.54 inches), with significant snowfall averaging 135.9cm (53.5 inches) per year, making water infiltration from roof leaks and ice dams a common concern throughout Georgetown, Acton, and surrounding hamlets.
Replacement involves:
- Cutting out damaged sections along studs or joists
- Installing new drywall panels of matching thickness
- Securing panels with appropriate screws or nails
- Taping and mudding all seams
- Texturing to match surrounding areas
Matching existing texture requires skill and experience. Professional contractors can replicate various texture patterns to ensure seamless integration with your existing ceiling.
Wall and Ceiling Hole Patching
Hole patching addresses damage from doorknobs, furniture impacts, plumbing repairs, and electrical work. Small holes under 4 inches require different techniques than larger openings.
Small holes (nail holes to 4 inches) use mesh patches or plug patches with joint compound. Large holes require backing material or replacement drywall pieces for proper support.
Patching techniques vary by hole size:
| Hole Size | Method | Materials |
|---|---|---|
| Under 1 inch | Mesh patch | Self-adhesive mesh, compound |
| 1-4 inches | Plug patch | Pre-made patch, compound |
| Over 4 inches | Cut-in patch | New drywall, backing material |
Professional patching ensures invisible repairs that blend seamlessly with surrounding surfaces. Contractors match texture patterns and use proper priming techniques for lasting results.
Addressing Common Drywall Issues
Sagging drywall typically results from moisture exposure, improper installation, or structural settling that weakens fastener connections. Water damage requires immediate attention to prevent mold growth and structural deterioration. Properties in environmentally sensitive wetland areas above the Niagara Escarpment face higher humidity levels that can accelerate drywall deterioration.
Repairing Sagging Drywall
Sagging occurs when drywall panels lose their secure attachment to wall studs or ceiling joists. This happens due to moisture infiltration, inadequate fastening during installation, or house settling over time.
Identifying the cause determines your repair approach. Check for water stains, measure gaps between panels and framing, and inspect fastener placement.
For minor sagging, drive additional screws into studs every 6-8 inches along affected areas. Remove any loose or protruding nails that no longer provide support.
Severe sagging requires panel replacement. Cut out damaged sections and install new drywall with proper fastener spacing. Use 1¼-inch screws for walls and 1⅝-inch screws for ceilings.
Apply mesh tape and joint compound over new seams. Sand smooth after drying and prime before painting to match existing surfaces.
Water Damage Solutions
Water damage creates brown stains, soft spots, and potential mold growth in drywall. Quick action prevents extensive structural problems and health hazards. The town's three watersheds—Grand River to the west of Acton, Credit River (including Black Creek and Silver Creek tributaries) in the northern half, and Sixteen Mile Creek in the southern half—can contribute to basement flooding and foundation moisture issues during heavy precipitation events.
Immediate steps include stopping the water source and removing standing water. Use fans and dehumidifiers to dry affected areas within 24-48 hours.
Assess damage severity by pressing on stained areas. Soft or crumbling drywall requires complete removal and replacement. Surface stains on solid drywall may only need sealing and repainting.
Cut out damaged sections in square or rectangular shapes for easier patching. Remove material 6 inches beyond visible damage to ensure complete moisture removal.
Install replacement pieces using backing strips or mesh patches for support. Apply primer-sealer over all repair areas to prevent bleed-through staining before applying finish coats.
Drywall Installation and Soundproofing
Professional drywall installation in Halton Hills includes specialized soundproofing solutions that reduce noise transmission between rooms. With GO Transit bus service along Highway 7, VIA Rail and GO Train service at Georgetown GO Station, and CN freight operations on the Halton Subdivision through the area, soundproofing is particularly valuable for homes near transportation corridors. Modern soundproof drywall systems use dense materials and strategic installation techniques to create quieter living and working environments.
Soundproof Drywall Installation
Soundproof drywall installation requires mass-loaded vinyl barriers and specialized gypsum boards that are denser than standard drywall. These materials typically weigh 30-50% more than regular drywall sheets. Properties near Regional Road 25, Highway 7, Steeles Avenue (Regional Road 8), or Trafalgar Road (Regional Road 3) benefit significantly from enhanced soundproofing due to traffic noise.
The installation process involves creating decoupled wall systems using resilient channels or sound clips. These metal components separate the drywall from the studs, preventing sound vibrations from traveling through the frame.
Double-layer installation is common for maximum sound reduction. The first layer uses standard 5/8-inch drywall, followed by a second layer of sound-dampening drywall with staggered seams.
Green glue compound is applied between drywall layers to convert sound energy into heat. This viscoelastic material significantly improves the wall's Sound Transmission Class (STC) rating.
Proper sealing around electrical outlets, switches, and gaps is critical. Even small air leaks can reduce soundproofing effectiveness by 50% or more.
Expert Drywall Finishing Solutions
Quality drywall finishing transforms rough installations into smooth, professional surfaces ready for paint or wallpaper. Each finishing technique requires specific skills and materials to achieve optimal results.
Professional Texturing
Texturing adds visual interest and helps hide minor imperfections in your drywall surfaces. Professional contractors use various techniques to create consistent patterns throughout your space.
Orange peel texture creates a subtle dimpled appearance using diluted joint compound applied with a spray gun. This popular finish works well in most rooms and provides good coverage for small flaws.
Knockdown texture involves spraying compound and then lightly flattening the peaks with a trowel. The result is a more dramatic pattern that effectively conceals wall irregularities.
Skip trowel texture creates an organic, hand-applied look using a trowel to drag compound across the surface. This technique requires significant skill to maintain consistency across large areas.
Professional texturing ensures uniform coverage and proper drying times. Experienced technicians match existing textures precisely when completing repairs.
Skilled Mudding
Mudding involves applying joint compound to cover seams, fasteners, and surface imperfections. This foundational step determines the final quality of your drywall installation.
First coat application embeds paper tape into compound at all seams and corner beads. Proper embedding prevents tape from showing through subsequent layers.
Second and third coats progressively widen the coverage area to create smooth transitions. Each layer must dry completely before sanding and applying the next coat.
Fastener coverage requires filling screw holes with compound, ensuring heads sit slightly below the surface. Multiple thin coats prevent shrinkage cracks and visible fasteners.
Professional mudders use the right consistency compound for each application. They maintain proper edge feathering to eliminate visible ridges after painting.
Seamless Taping
Taping reinforces drywall joints and prevents cracks from forming over time. Proper tape application creates invisible seams that maintain structural integrity.
Paper tape works best for straight seams and provides maximum strength when properly embedded. The tape must be completely covered with compound to prevent bubbling.
Mesh tape offers easier application for repairs and inside corners. Self-adhesive versions stick directly to drywall but require more compound coverage than paper.
Corner application uses specialized corner tape or metal beading for crisp, durable edges. Inside corners need careful attention to prevent cracking at stress points.
Quality taping prevents future maintenance issues and ensures smooth paint application. Professional installers avoid common problems like air bubbles, wrinkles, and inadequate compound coverage. Whether serving historic homes in communities like Limehouse, Hornby, and Glen Williams, or newer developments near the Toronto Premium Outlets area on Steeles Avenue, experienced drywall contractors understand the specific needs of Halton Hills properties across all climate zones and geological conditions.